What it is #
MailChimp is the platform we use to send our email marketing. The MailChimp account is connected to our e-commerce, so any new clients are automatically added to the mailing list.
To access the MailChimp account use the following credentials:
User: 2guyswithknives
Password: LR2-9cs-beN-1eo
Creating a campaign #
You can create a new campaign from scratch, but the fastest way is simply duplicating an existing one.
To duplicate a campaign:
- Choose the one you want to duplicate and pass the mouse over it to show the light grey button on the right.
- Choose the option ‘Replicate’

You now have a new draft! It will be located on the top of the campaign list.
- Now you can edit everything: campaign name, recipients, subject and design.
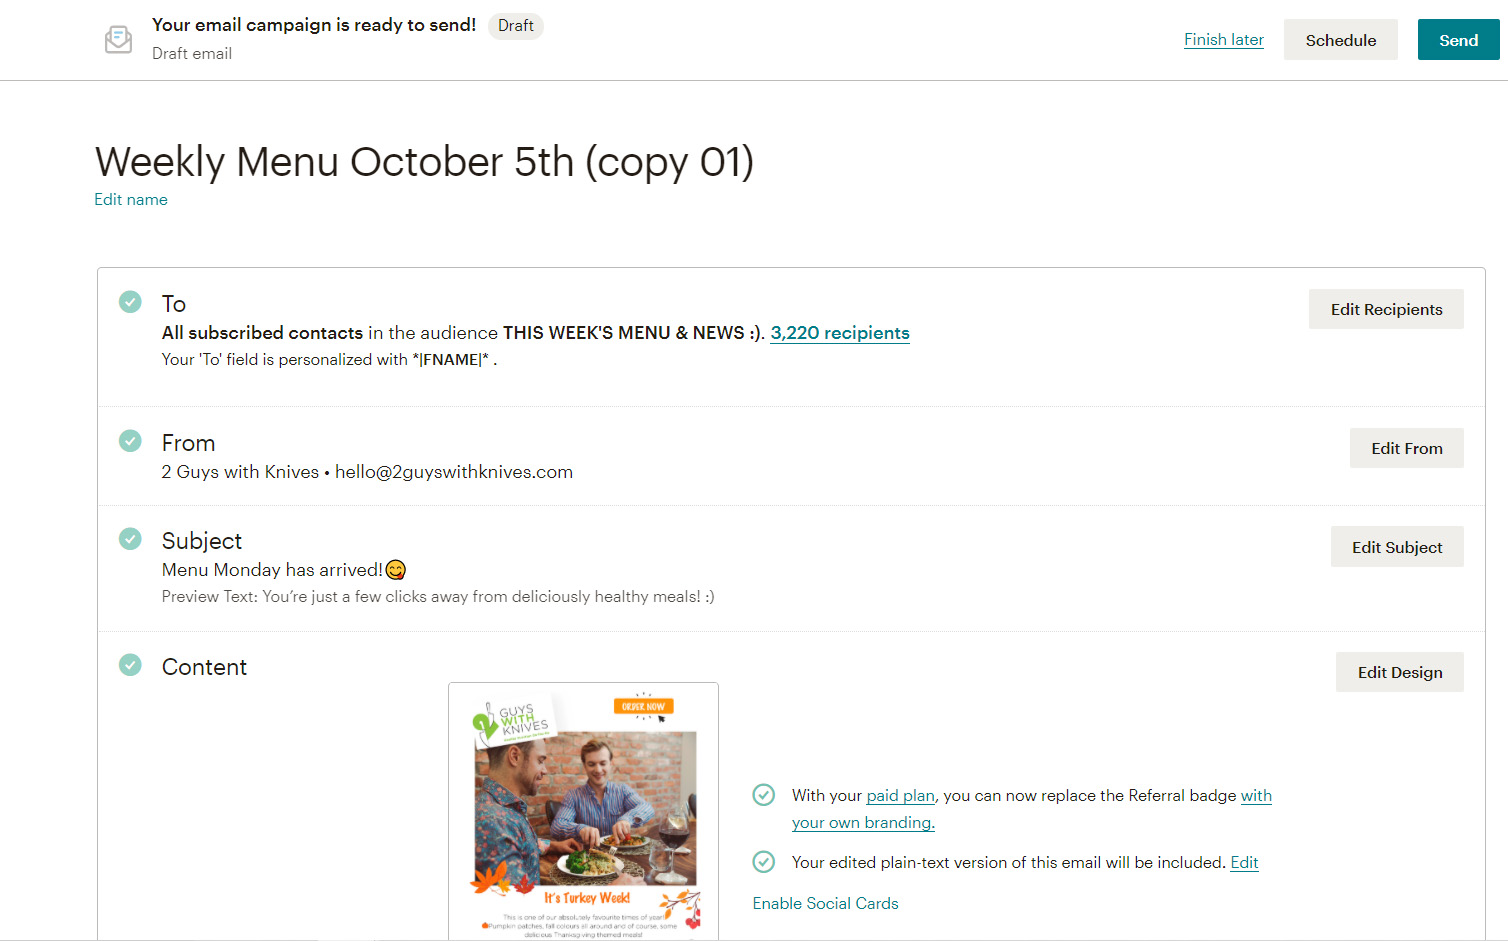
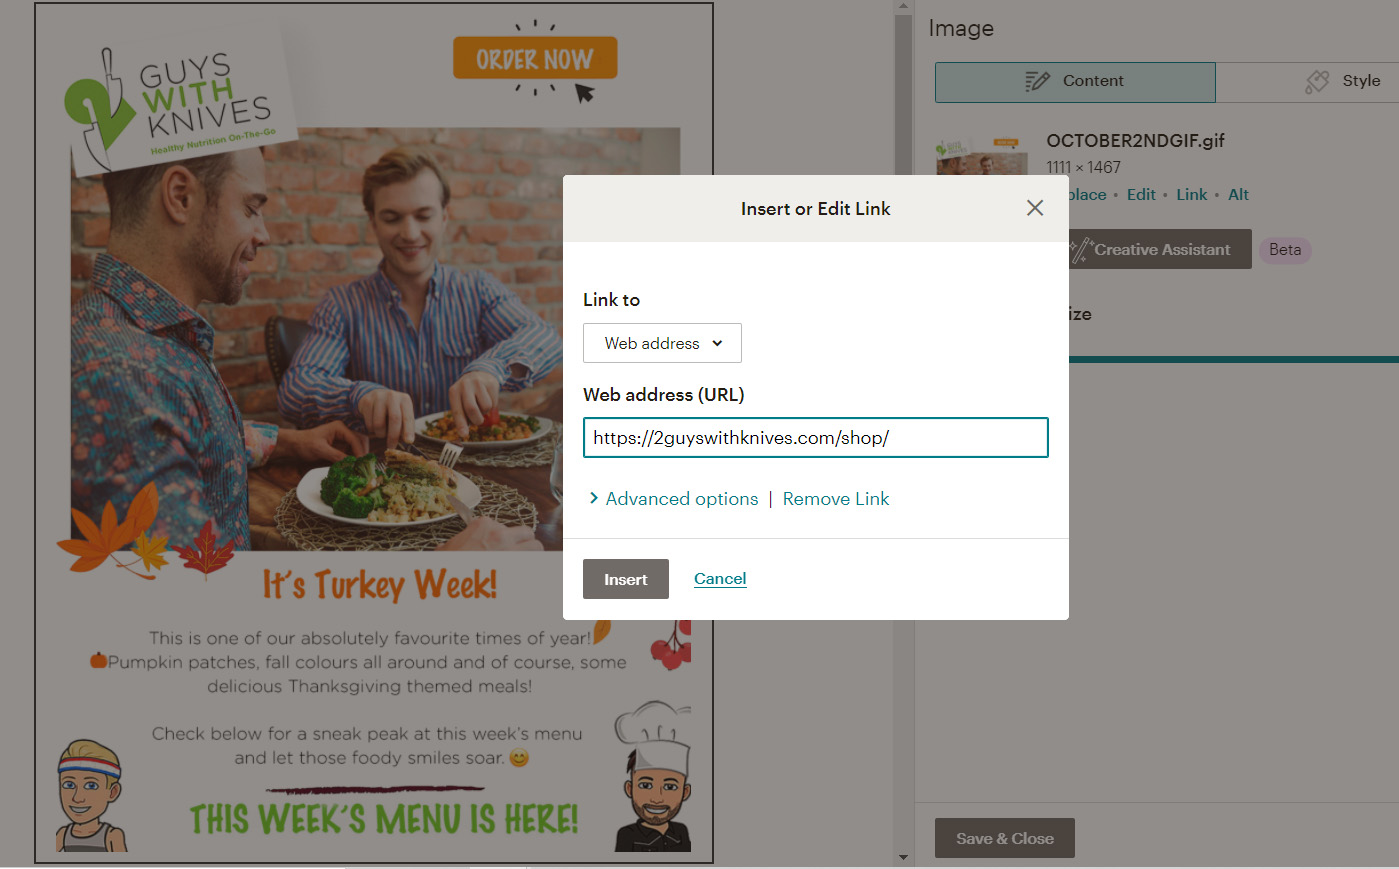
- To insert your new art, click on ‘Edit Design’. Inside, select each segment to upload the new image and replace it. Always verify if the Link and Alt Text are correct.
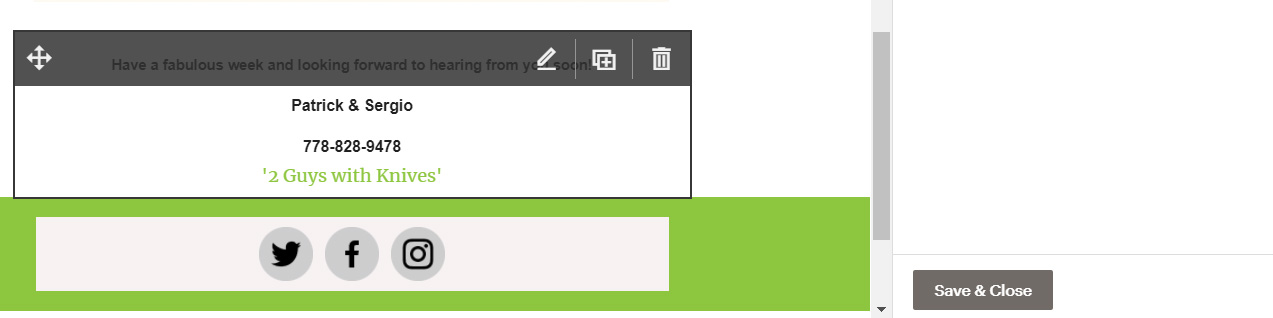
- After every step, click on the grey ‘Save & Close’ button to keep your changes. When everything is done, click on the blue ‘Save & Close’ button at the bottom right of your screen.
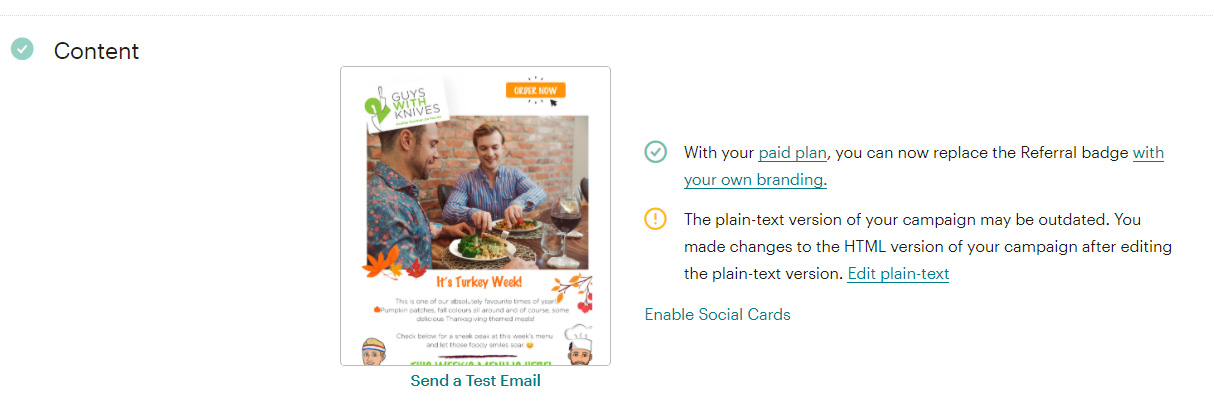
- Always send a test email to yourself. Verify its visualization and links both on desktop and mobile.
It’s all set! You can choose ‘Finish later’, ‘Schedule’ to another time or ‘Send’ the email now.

Using tags #
For some campaigns, like the ‘Order Reminder’ and some promotions with a partner, you will need to use tags to identify or exclude clients.
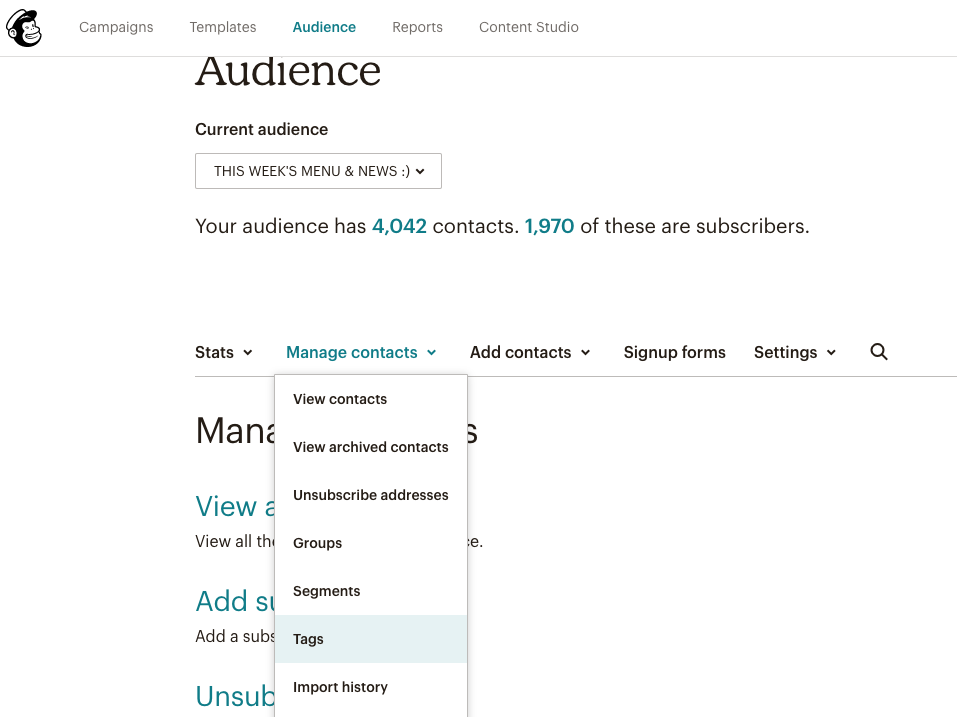
In the MailChimp main menu, choose ‘Audience’. Then, in the second menu, chose ‘Manage contacts’ > Tags.
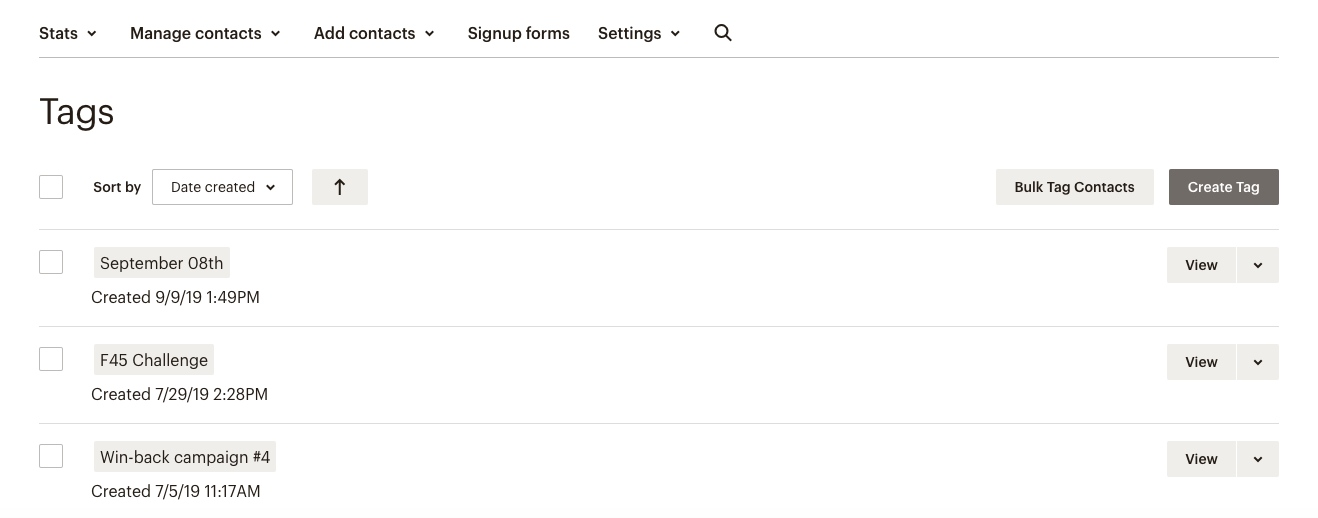
Here, you have a list of active tags. You can create new ones, rename or delete the existing ones
For ‘Order Reminder’ campaigns:
- Delete the one for the previous week (for example, ‘September 08th’)
- Create a tag for the current one (for example, ‘September 15th’)
For promotional campaigns:
- Create a new tag with the name of the promotion or the partner
- Make sure that the name of the new will not conflict with any existing ones.
Applying tags to your campaign #
Once you have the tags ready, go to your campaign and chose ‘Edit Recipients’

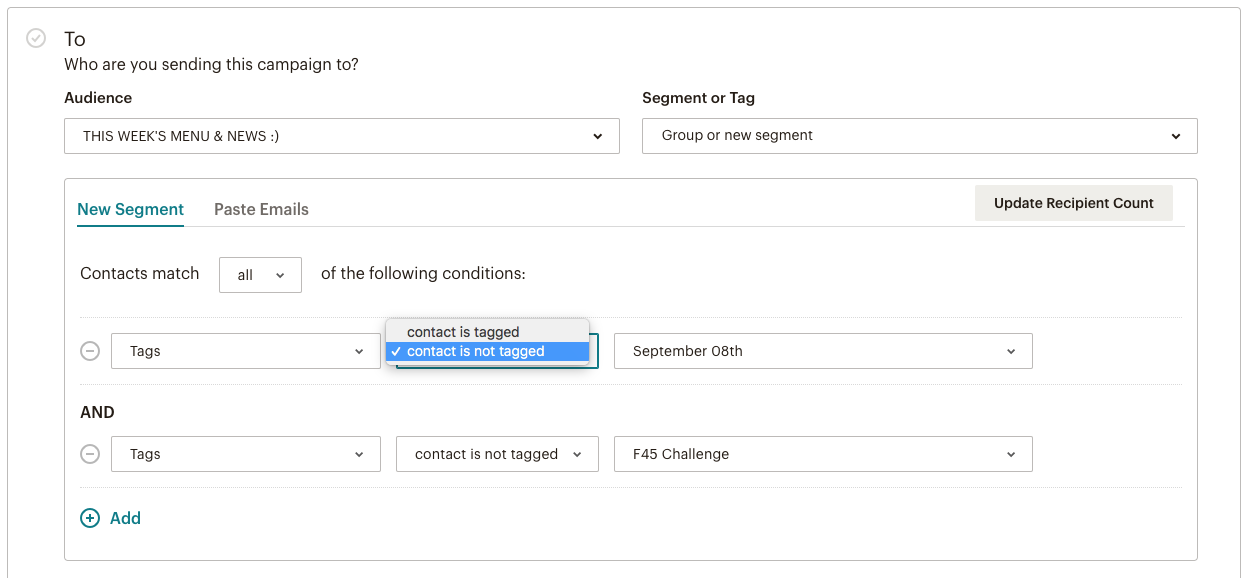
- In ‘Segment or Tag’, choose the option ‘Group or new Segment’ to open the ‘New Segment’ area.
- Choose ‘Tags’ for the field you want to manage
- Select the option that best suits your need between:
- ‘contact is tagged’: your campaign will be sent only to the clients attached to that specific tag
- ‘contact is not tagged’: your campaign will exclude all clients attached to that specific tag
For the ‘Order Reminder’ campaign you will always use this resource to exclude the clients that already placed an order in the current week. More information can be found in the ‘Importing a list of contacts’ step.
Importing a list of contacts #
You will use this option for importing a list of contacts, to add a list of new contacts received from a promotion or event, to add the list coming from the ‘New Subscribers’ form.
As the most common use will be importing a list of contacts for the ‘Order Reminder’ campaign, we will use it as an example.
CREATING A MAILING LIST FROM THE WEBSITE
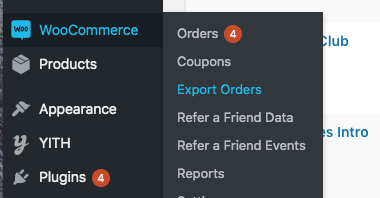
From the Admin area of the website, on the left menu, go to WooCommerce > Export Orders.
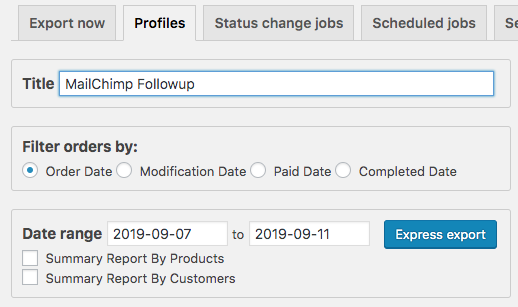
On the ‘Profiles’ tab, click on the ‘MailChimp Followup’ report (you will find it close to the bottom of the reports’ list).
Once on ‘MailChimp Follow up’ report, select the date range that you need, from last Saturday (in the example, 2019-09-07) until the current Wednesday (2019-09-11), then click ‘Express export’. A CSV file containing a list of all clients that already placed the order for the week will be generated and automatically downloaded to your computer.
IMPORTING THE MAILING LIST TO MAILCHIMP
Back to MailChimp, go to Audience > Manage Audience > Import contacts
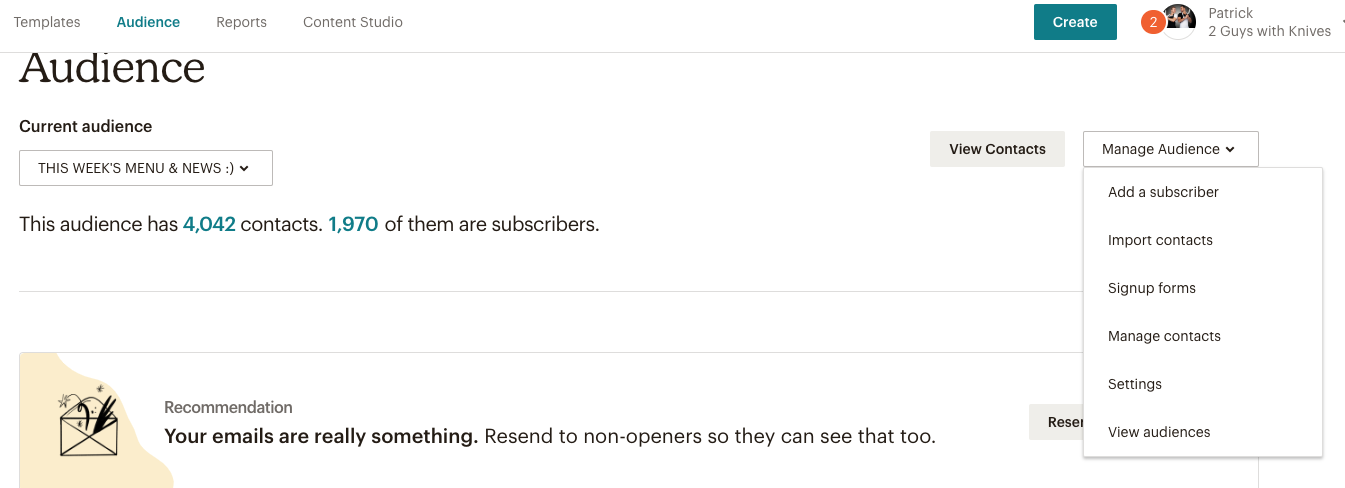
You will be guided to a series of steps, shown in the following screenshots. After completing each step, click on the blue button at the left bottom of your screen.
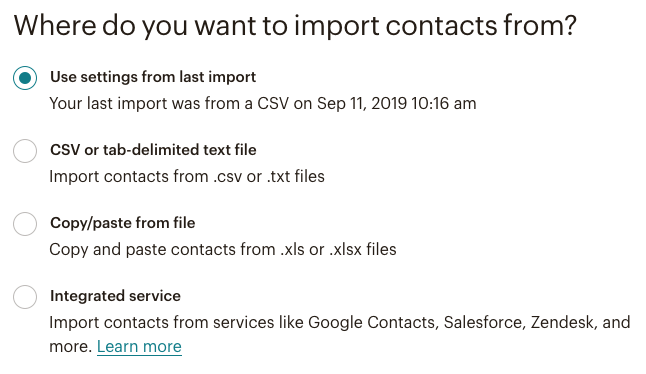
1st STEP: choose one of the first 2 options of the list
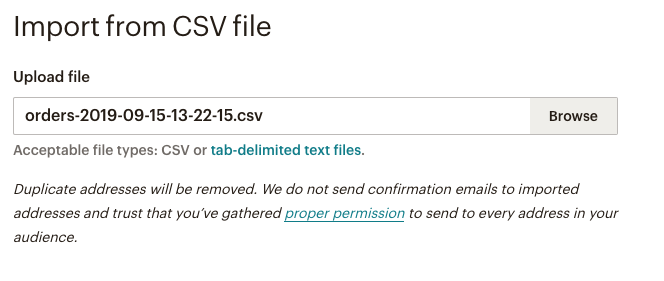
2nd STEP: browse and select the CSV file generated from the website
3rd STEP: Check that fields are correctly matched. For the ‘Order Reminder’ you will only need the e-mail address.

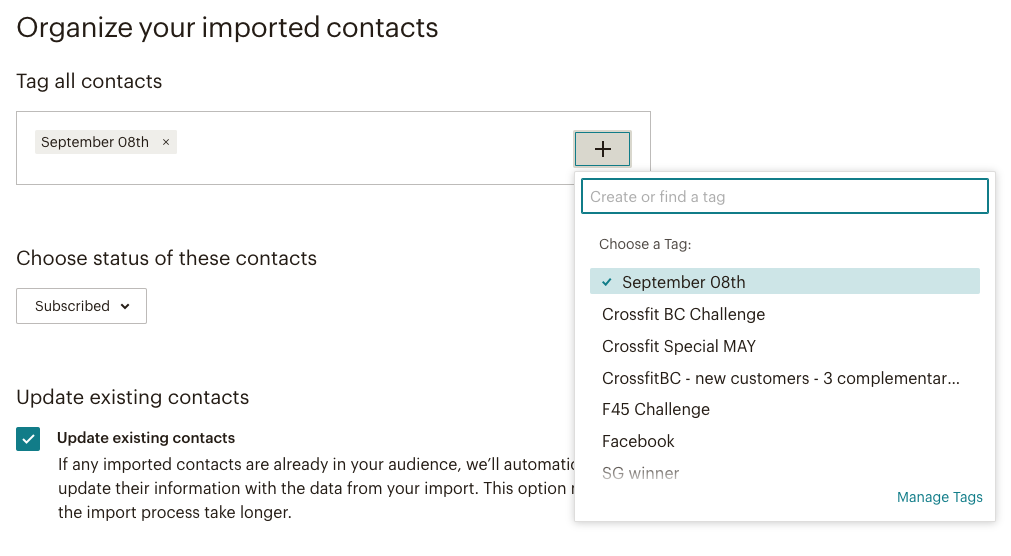
4th STEP: choose the tag you want to use to mark the contacts in the list you’re importing. The status of the contacts should be ‘Subscribed’ and the box for ‘Update existing contacts’ should be checked.
5th STEP: always verify that you’re importing the correct fields or columns and that you’re attaching the correct tag.
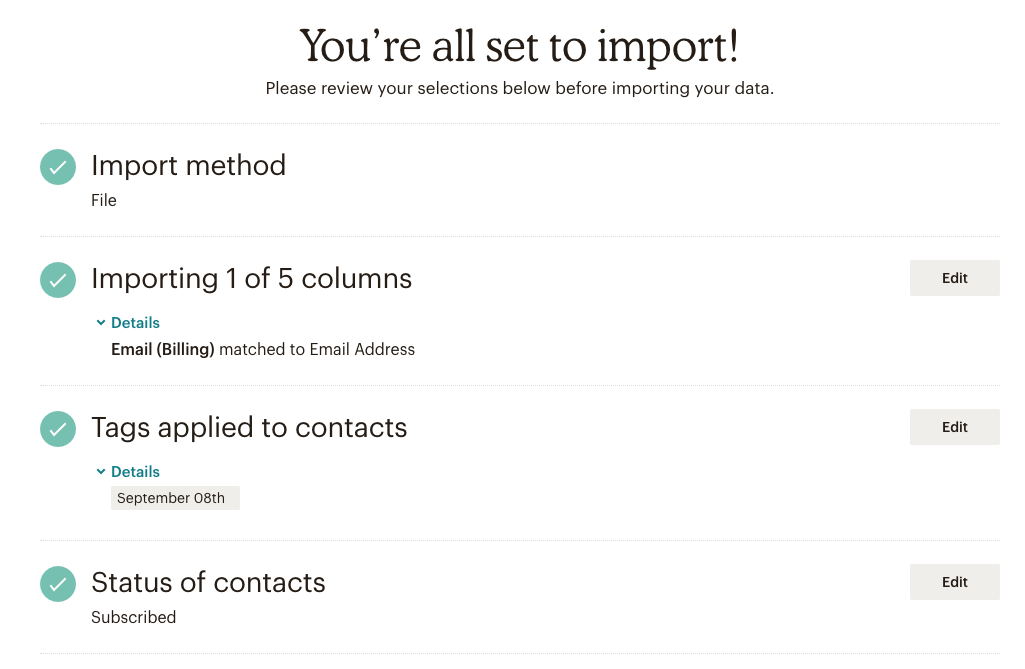
Click the final blue button, ‘Import’. Congrats, you did it!!
Scheduling Wednesday Order Reminder #
In this step, we will look at how all of the previous steps tie together in the Wednesday Order Reminder Email Campaign.
First, make sure we have the Campaign ready.
Now, we need to create the tag. Make sure the tag is of the current week.
After you have created the tag, the steps are quite easy.
Export the list of people who have already placed their orders. We are not going to send the reminder email to them. To exclude them, we need to apply the Current Week tag to their details, as the Reminder Campaign settings are set up to ignore a specific tag.
An important step is to allow MailChimp to edit the existing contacts. Without this, the tag will not be applied correctly.
Once you have imported the contact list and applied the tag, it is time to send out the campaign.
For that, just go into the follow-up Campaign you have created earlier, make sure the tag settings is set to exclude the current week’s tag and send out the campaign.
You’re all done!!


