Using existing reports #
Our website can provide many reports, which you can utilize to analyze sales, see how new clients found us, which promotions are bringing better results, and more!
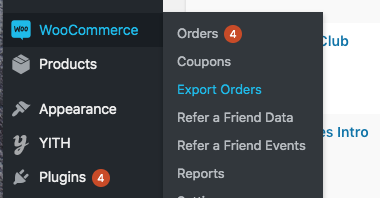
We have many reports already built, which you can access from the Admin area of the website, on the left menu, go to WooCommerce > Export Orders.

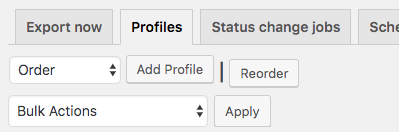
In the ‘Profile’ tab, you will find a list of all reports built so far. Usually, for these reports, all you need to is to set the ‘Date Range’ and export.
The reports are exported in CSV format an can be opened in Numbers.

For Marketing, we have:
Sales Numbers Report – a list containing order IDs, customer’s name, product name, and quantity. You will use it for updating the Sales Report.
MailChimp Followup – a list containing the email of customers that already placed an order in the current week. You will use it for sending the ‘Order Reminder’ email blast.
Discovery Report – a list containing order IDs, customer’s name and email, how new customers found us, if they used any promo code. You will use to analyze the efficacy of marketing efforts in bringing new clients.
If you have doubts in using the reports or need to modify, consult the website administrators.
Building a new report #
If you need a specific report, for example ‘analyzing a promotion,’ you can build a new one.
From the Admin area of the website, on the left menu, go to WooCommerce > Export Orders.
You have 2 choices:
- Using the ‘Export now’ tab, if you need a report to be generated only once.
- Clicking the ‘Add Profile’ button at the ‘Profiles’ tab, if you need a report to be generated many times.
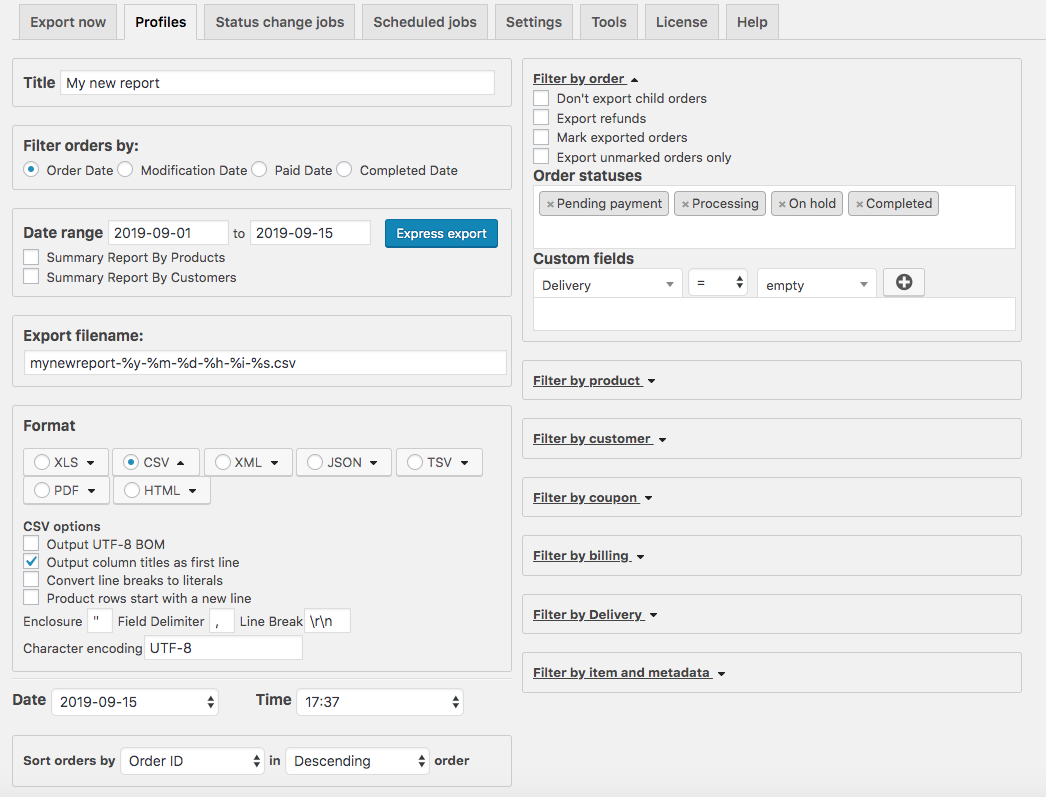
In the new report, you can customize and make many filter combinations:
- Give a name to your report, if you chose a new profile
- Customize the export filename
- Choose a format (usually CSV)
- Choose the orders statuses that you want to include. For example, for the sales of the current week, you may choose ‘Pending Payment’ and ‘Processing’.
- Filter by products or categories. For example, ‘Breakfast’
- Filter by coupon. For example, ‘#2GWK_MEAL_PREP’
- Filter by delivery area. For example ‘Burnaby’
- Filters that you don’t need to use, just leave blank.
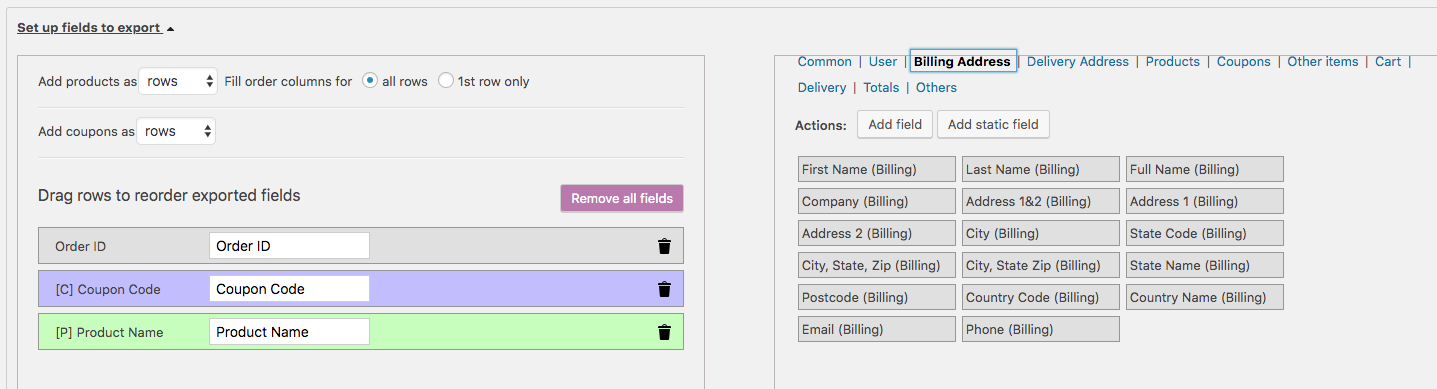
Finally, go to the ‘Set up fields to export’ to choose which information you need to be exported.
You will see all options available in the area on the right hand side. Simply drag & drop the fields that you want to the left hand side area.
Once you complete your dragging and dropping step, your report will be ready to export!
If you have any doubts about building a report or can’t find the fields to export, consult the website administrators.


