Purpose: #
The label printer is the work horse of our labelling program. In this topic we will explore the correct loading procedures and capabilities of the Citizen Printer.
Targets: #
Upon completion of this topic you will understand how to:
- Refer to the user’s manual
- Correctly load label rolls and ribbons
- Trouble shoot the printer whenever there are calibration issues
Printer model: #
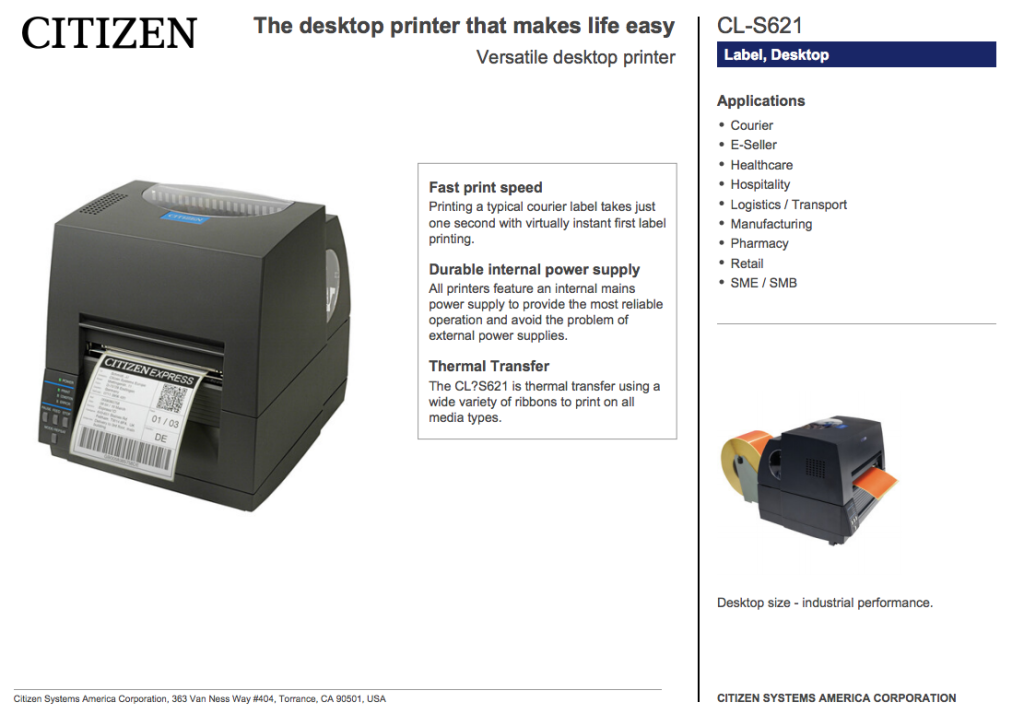
The label printer we utilize is a Citizen CL-S621. It is a precision engineered, fast and easy-to-use unit that includes all the capabilities for both direct thermal and thermal transfer modes.
The printer also features Citizen’s Hi-Lift™ metal mechanism and the innovative ARCP™ anti-wrinkle and automatic tensioning system to improve printing quality.
Cool, huh?
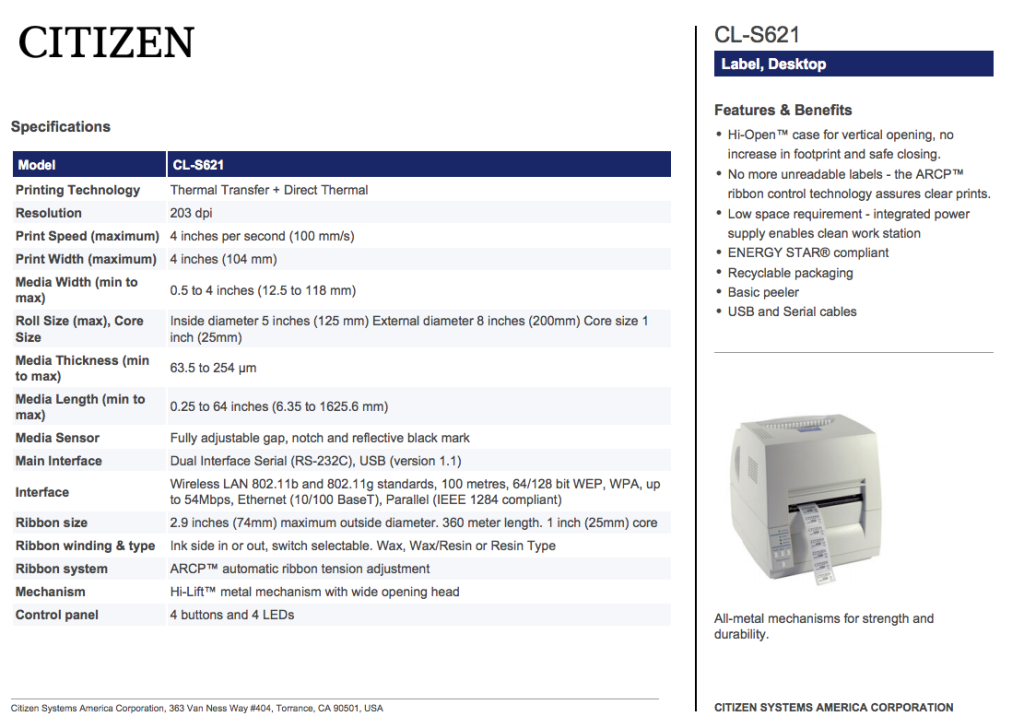
Specs: #
Loading procedures: #
Let’s start off with the basics
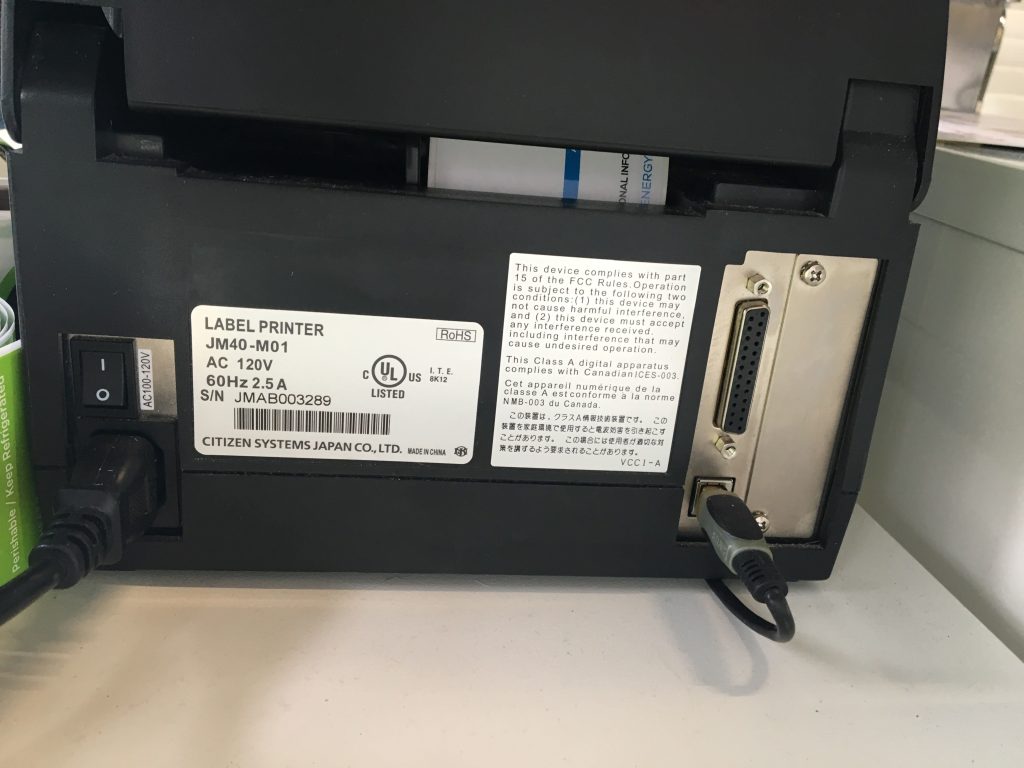
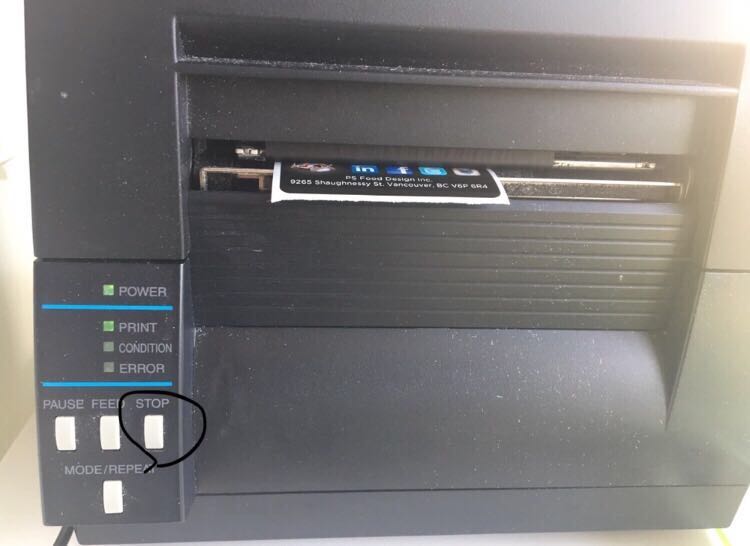
Step 1: Turn the printer on by pressing the power button located on the back of the printer
Step 2: Once the printer is on, press the stop button once. After this, it will be ready to print as shown in the video below Click the link for a video demo.
https://drive.google.com/file/d/1JmHSMBTC6D8Ss_sF_iAl63mx_Ia644_7/view?usp=sharing
Step 3: Ensure the ribbon is loaded correctly into the printer to avoid any jamming by following these ribbon loading procedures:
- The way the ribbon is placed in the printer is by putting the shiny side up and winding it side up (clockwise). Click the link below for Video representation of this step.
https://drive.google.com/file/d/1Uh60FkRxqKfbEktapcGey94m1asMq_dv/view?usp=sharing
Step 4: Once the ribbon is set, put the label roll in the printer by following these loading procedures:
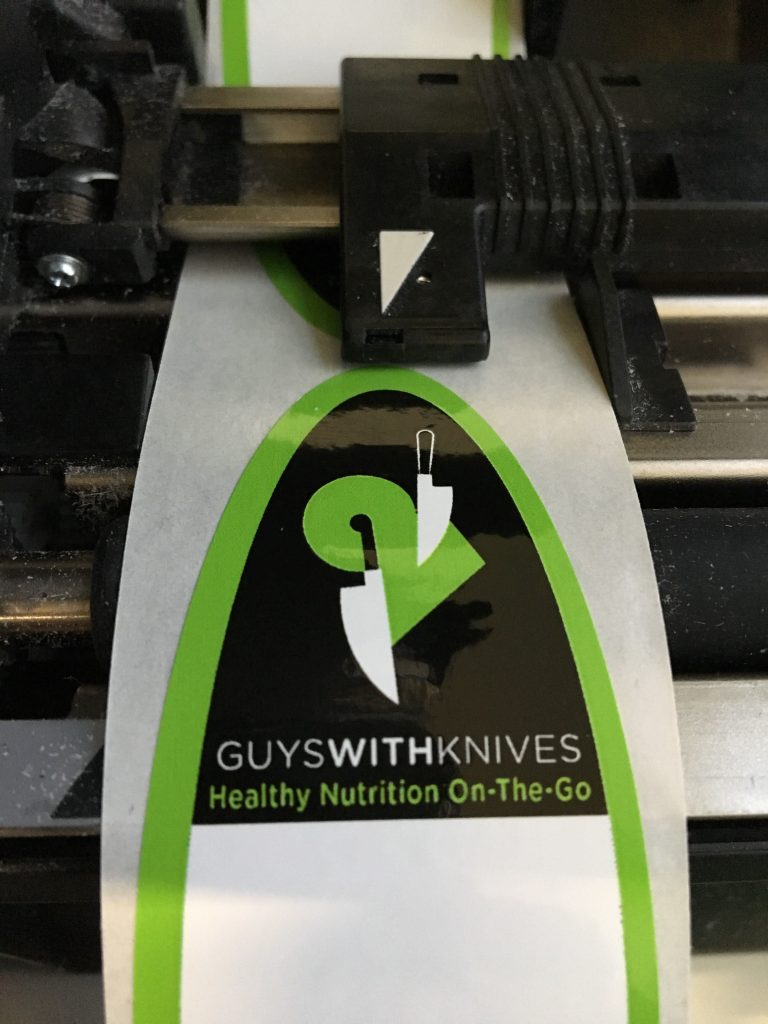
- Before the label roll is put in, the black bar that contains the calibration arrow must be up. The label roll has to be put with the printable area facing up (winding up). After you put the label roll in, you need to press the bar with the arrow down onto the label and calibrate it depending on the type of label being used.
Calibration time!
Once the ribbon and labels are set, calibrate the printer with the sensor arrow so that it is in the correct spot for the label you are printing. The correct spot will be described below.
Calibration occurs by aligning the bar on top of the label and the sliding bar located below the label into the correct spot according to the label being printed.
In most cases this will be in the middle of the label, however there are some exceptions like the entrees labels where it needs to be calibrated at 1/4-1/3 or 1/2 of the label diameter area. More on that as you scroll down.
Click the link below for a visual representation on correctly calibrating the label for printing.
https://drive.google.com/file/d/1l_hCNWudXYsmZGYrn4c1PTsMk62zz64V/view?usp=sharing
Now, let’s take a look at the specific calibration needs for each label size variation 🙂
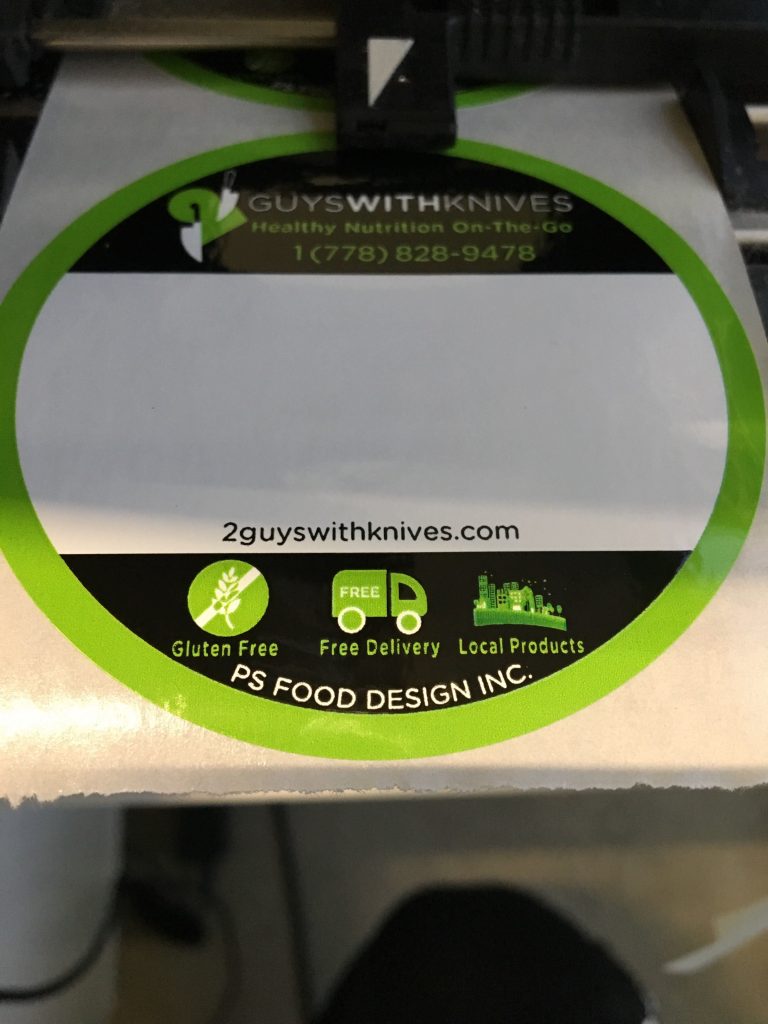
For the round labels always make sure that the arrow is in that sweet spot right in the middle of the label as if you were cutting a pie in half
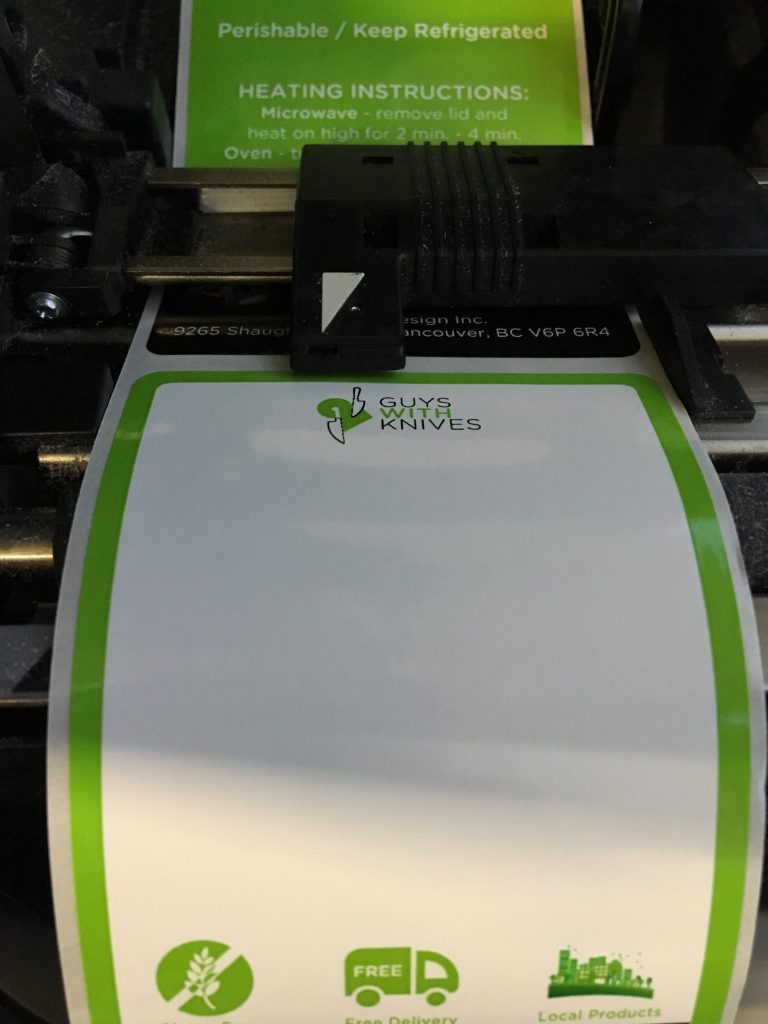
For the entrée labels: notice that on this example it’s calibrated at 1/3 of the diameter of the label.
For the wrap labels always place the arrow right in the middle (symmetry at its finest)
*These calibration procedures apply in the same way to the BEC labels and white label menu labels*
Changing the ribbon: #
Changing the Ribbon is completed in 4 easy steps:
- Unwrapping new ribbon
- Attaching new ribbon to cardboard rings
- Insert winding columns into the two cardboard rings
- Load new ribbon into printer
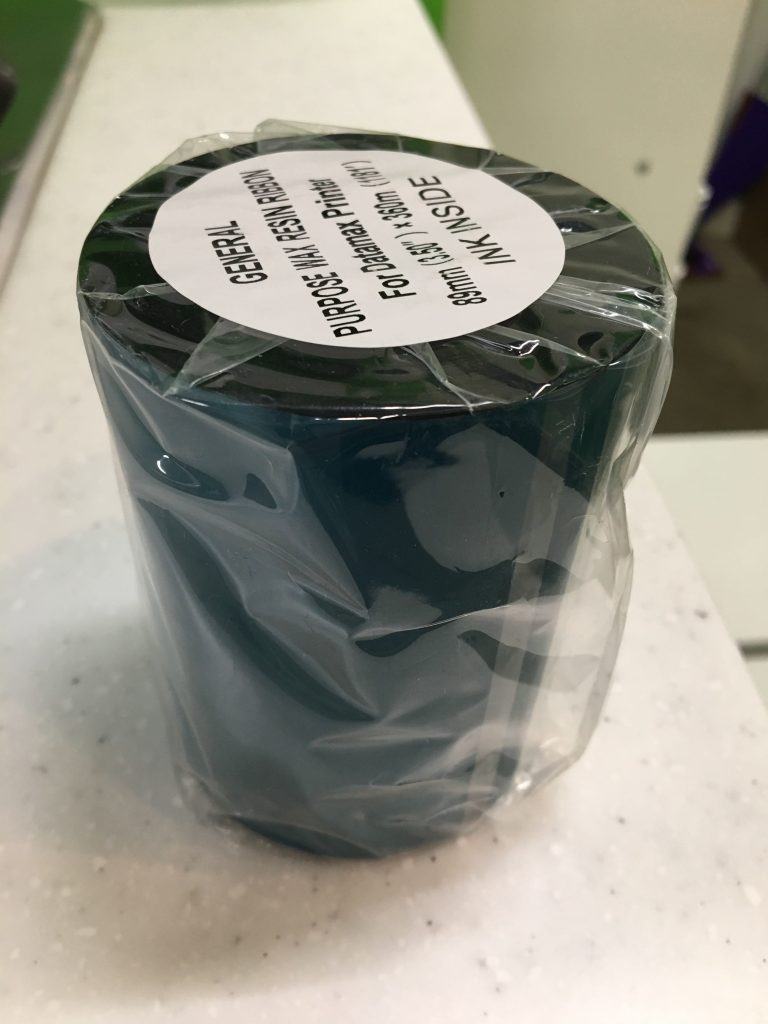
The new ribbon rolls arrive individually packaged and labelled as shown below. To begin, unwrap new ribbon roll from plastic packaging.
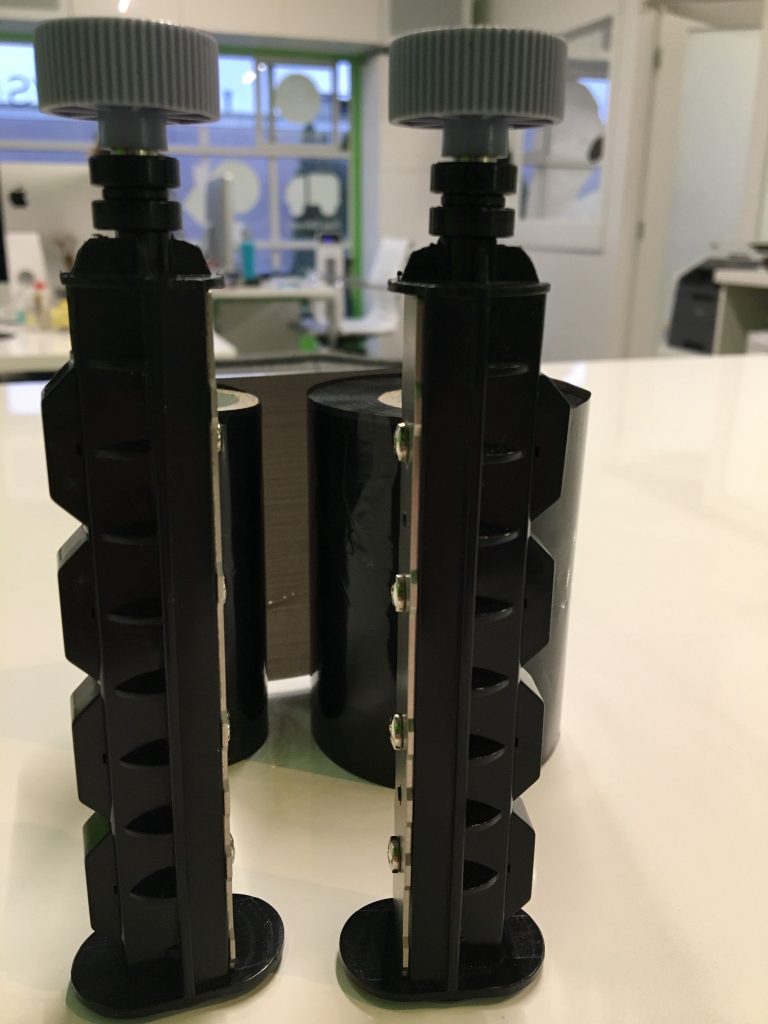
Now it’s time to involve the winding columns. Below is an image of the winding columns we will be inserting into the cardboard rings.
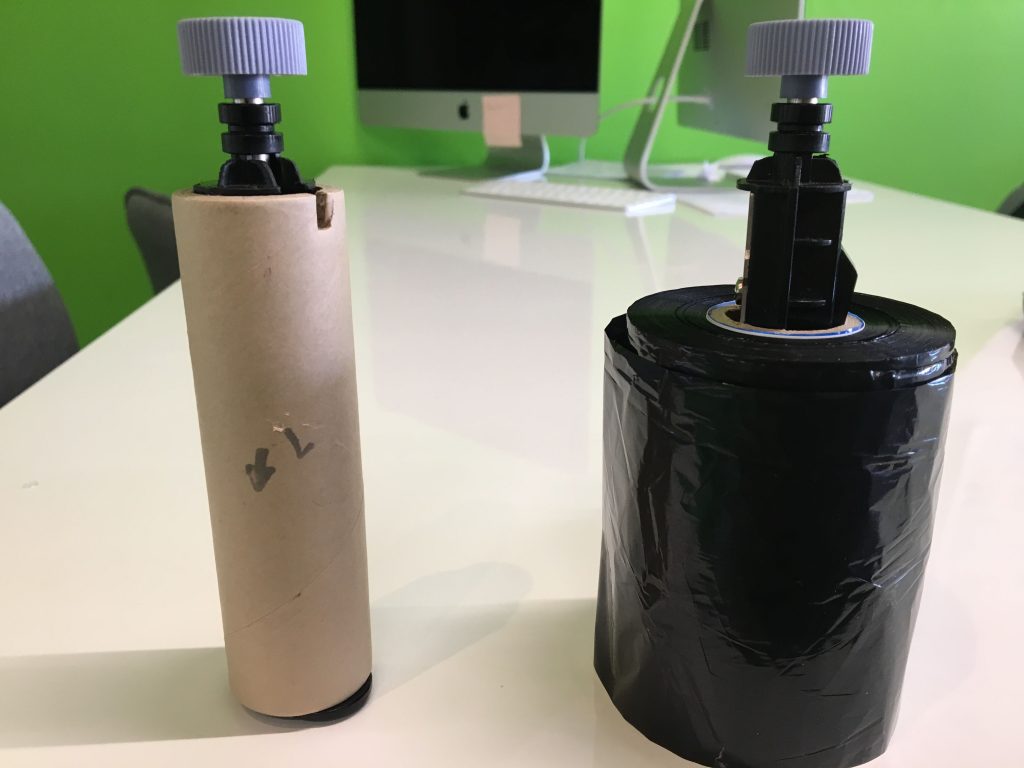
Insert the first winding column into the new ribbon roll and the second into a secondary cardboard ring which you will find on the label shelf.
The side of the columns with the winding knobs must be inserted from the bottom. The image below shows the columns successfully inserted
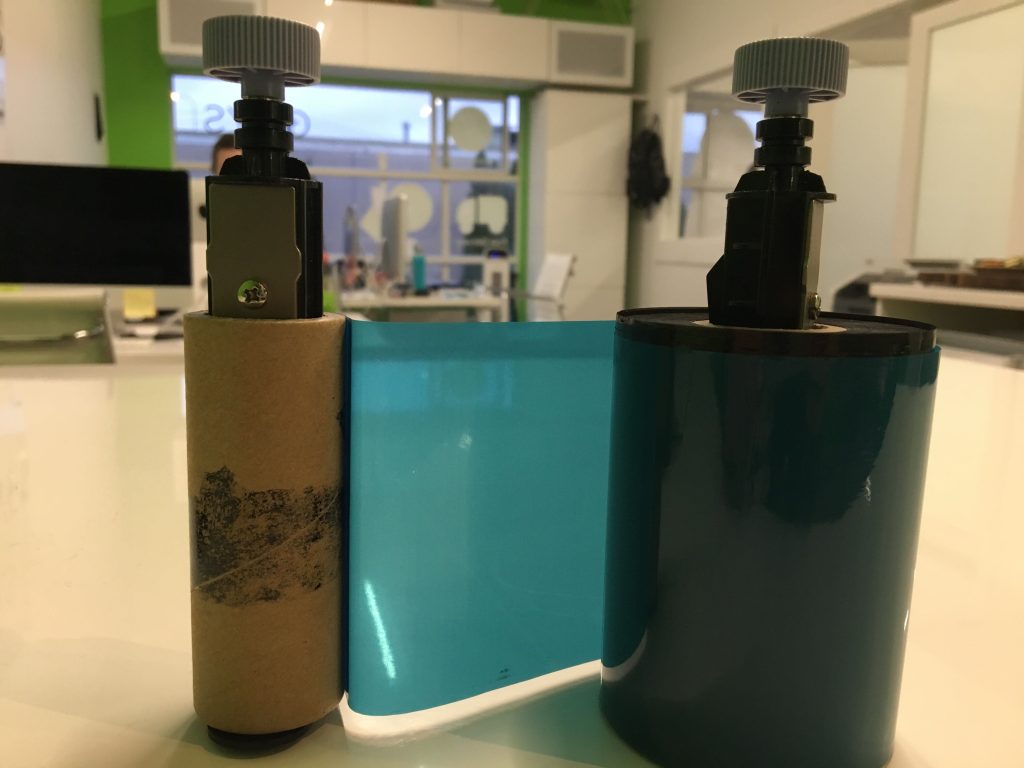
Now, the ribbon needs to be adapted from a single cylinder into 2 cylinders by attaching the start of the ribbon roll to the secondary cardboard ring as shown in the image below.
The start of the ribbon roll is a blue adhesive which makes this process quite easy.
After assembling the new ribbon roll, the last step is to load the ribbon correctly into the printer. Watch the video below for a complete step by step of the full process.
https://drive.google.com/file/d/1OZ1-z3VpNeqUaRGxKnVWRj_i3ot5k7rf/view?usp=sharing
Trouble shooting: #
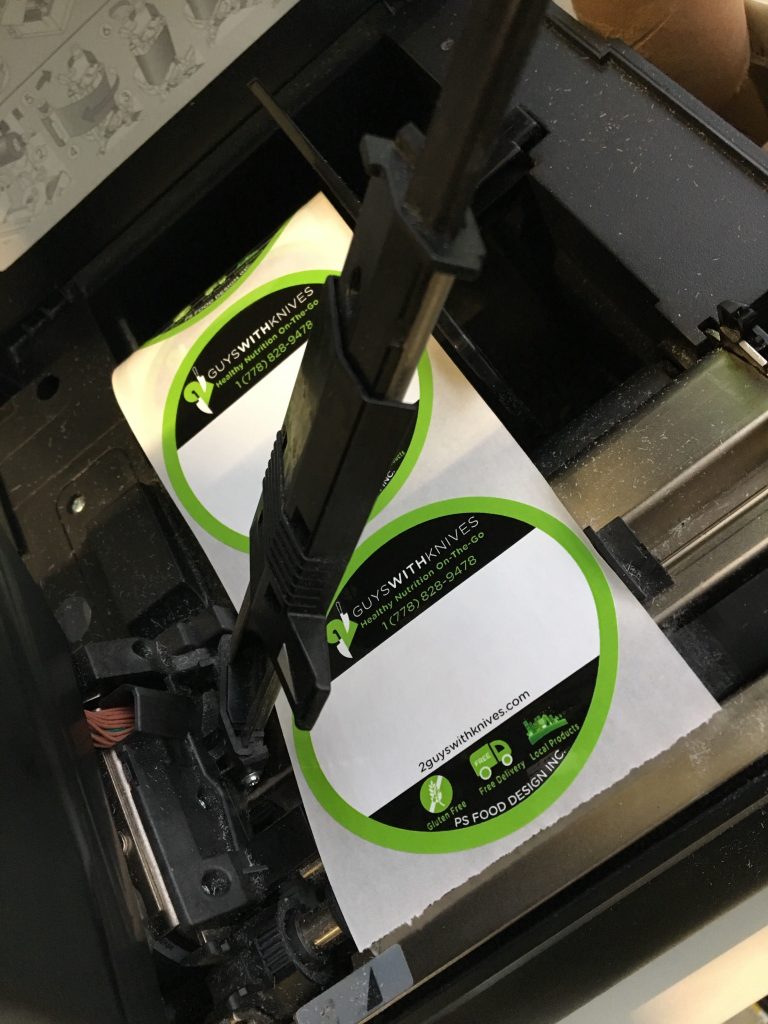
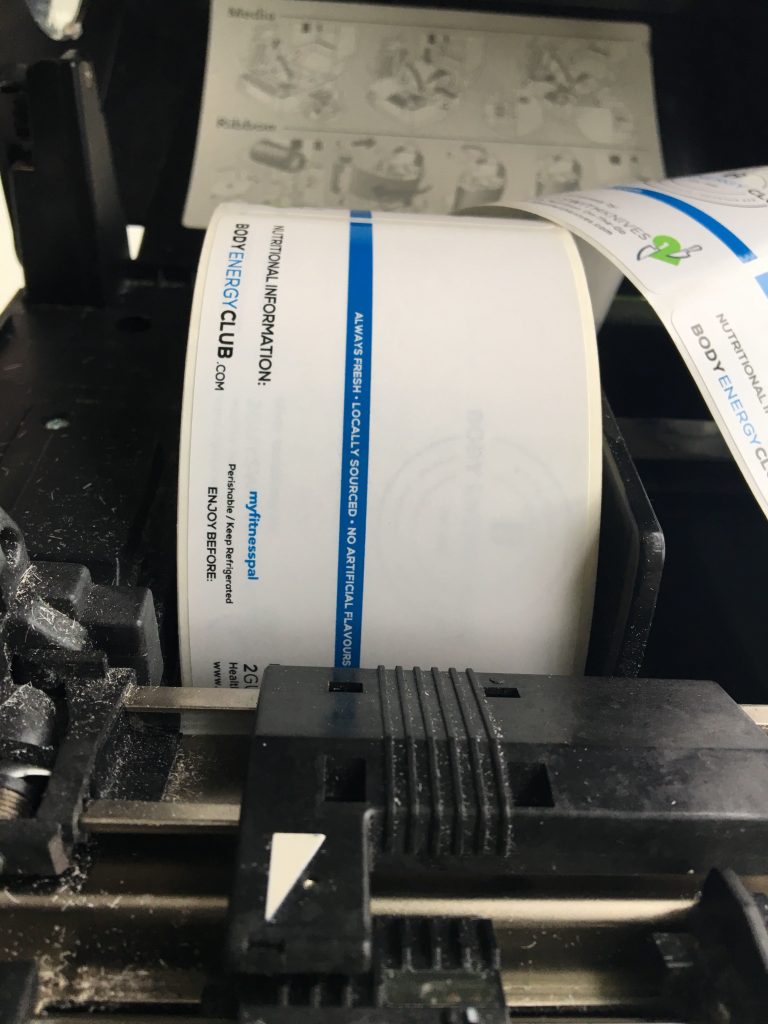
Whenever the printer’s error light starts blinking and the label won’t come or comes out not centred or in a very odd position, it’s because the calibration arrow and sensor are misaligned. This happens especially with round and oval labels because both the arrow and the sensor must be right on the middle of the label for the printer to print the info correctly.
As it can be seen in the image below, the sensor and the arrow are not calibrated correctly and as a result, the printer says error and cannot print.
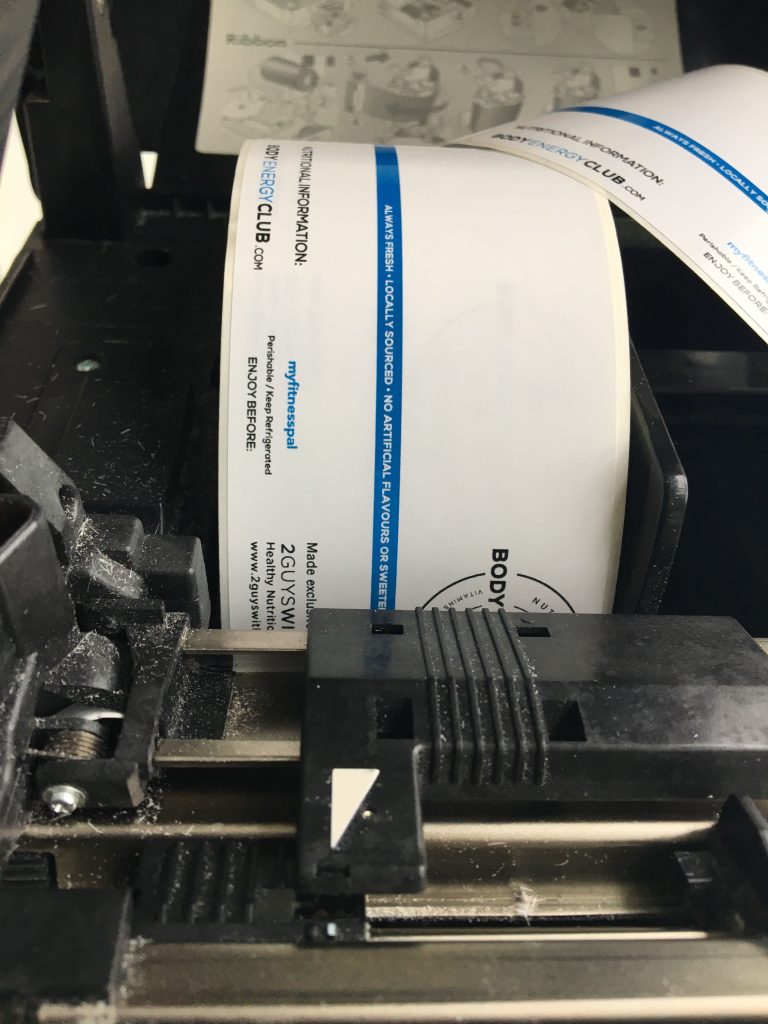
Once you correctly calibrate the sensor and the arrow, as shown below, the error blinker won’t light up anymore and the printer will print without any problem.
If you believe the sensor and the arrow are aligned but the issue is still happening, turn off the printer, turn it on again, press the stop button, move the sensor and arrow around, align them again carefully and try printing again and it will work.


