Purpose: #
In this topic we will explore how to get started with the label computer and printing software
Targets: #
Upon completion of this topic you will be able to confidently:
- Log into the label computer
- Access the Bartender Software
- Navigate amongst existing label files
- Edit an existing label file
- Create a new label file
- Understand the label printing basics
- Store printed labels appropriately
Logging into the label computer: #
Welcome to the printing guide
Here you will learn where the label computer is located in the office and how to login. Excited? Let’s go!
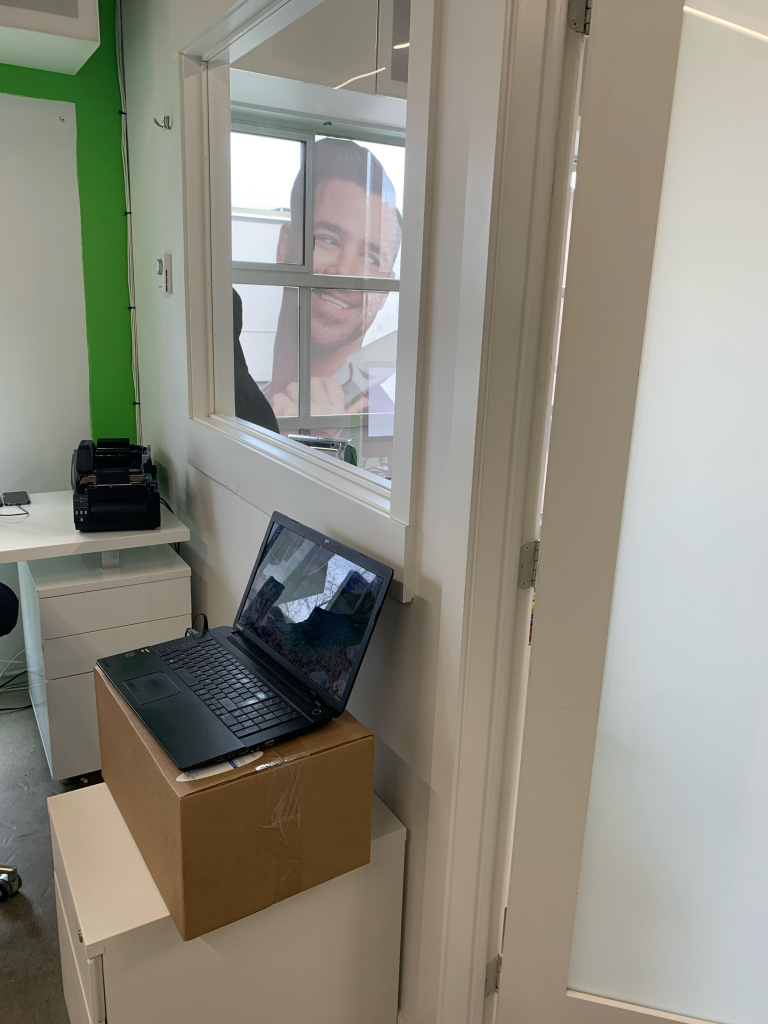
- The label computer is located directly on the small white drawer desk in the right corner of the office (or on the corner when facing towards the window. It is the only Asus laptop in this company.
- Log in under username 2gwk with password “1236”
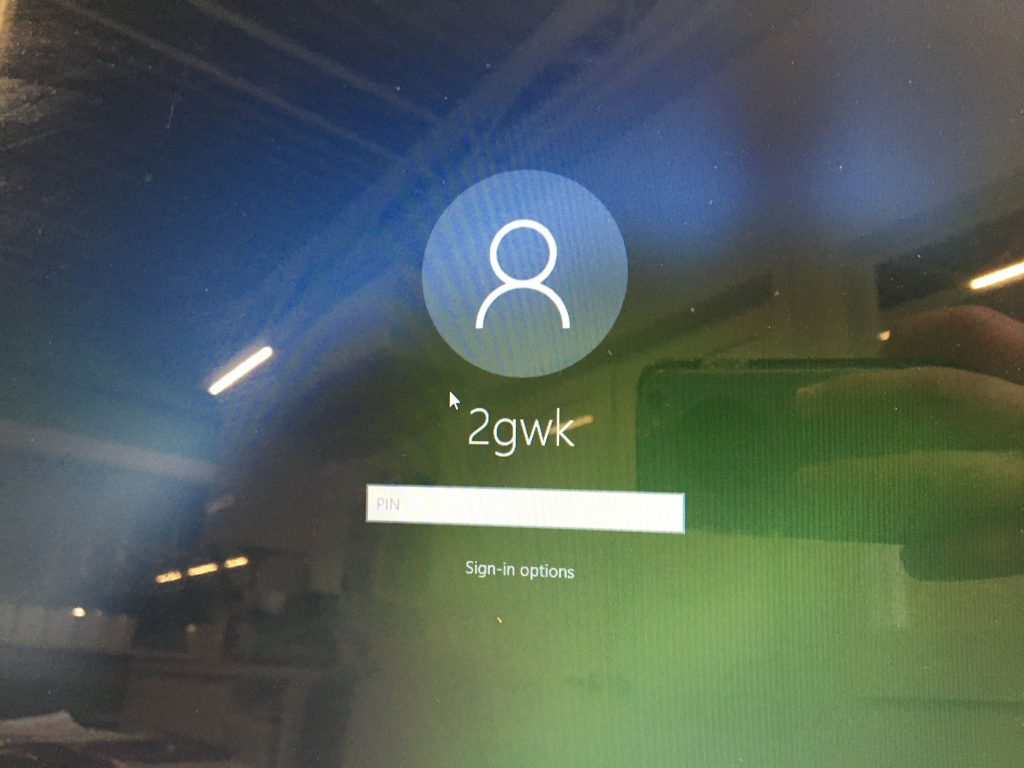
- This will take you to the desktop and you will be ready to rock some labels
Easy peasy hey!?

Accessing ‘Bartender’ software: #
We use ‘bartender’ because of its flexibility when it comes to designing labels. Attachments are easily added on and you can quickly create additional features, such as different types of barcodes (UPC-A, EAN, QR, etc.) from scratch.
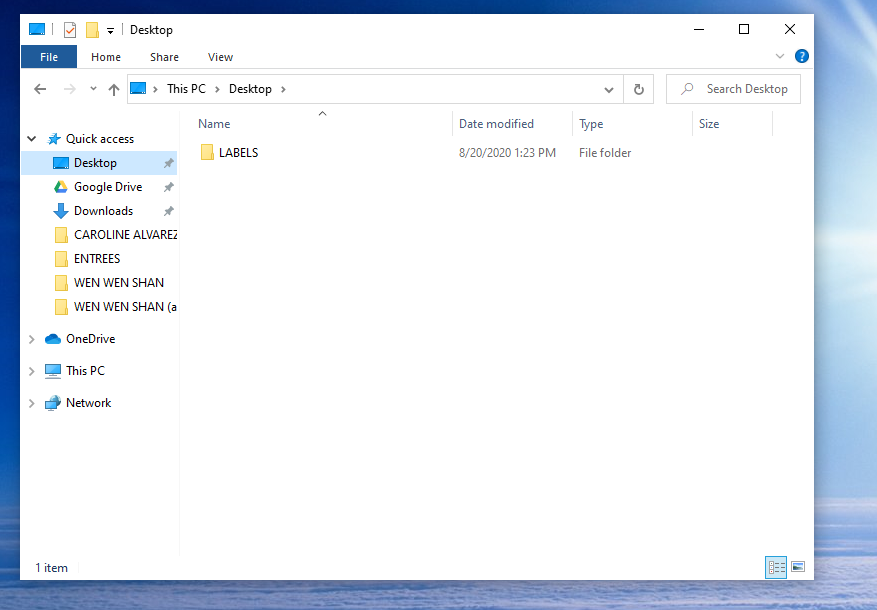
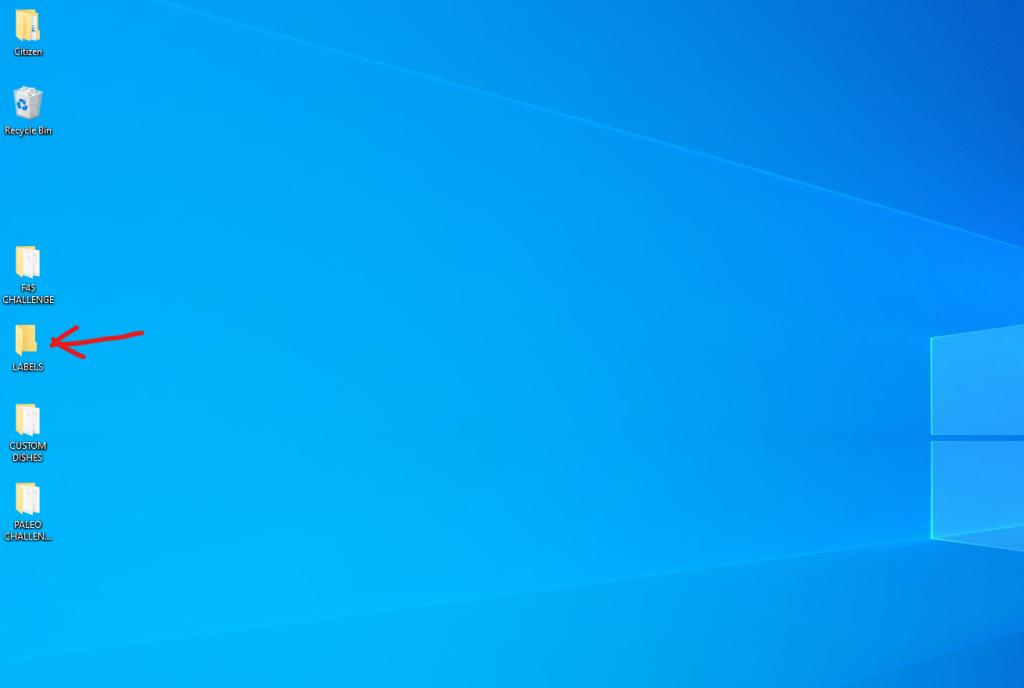
Accessing the bartender software is as fast as it is flexible. So much so, that the program will automatically launch when you open any bartender file! You heard right, all you need to do to launch bartender is open the Bartender folders on the desktop like the one titled ‘LABELS.’
Let’s give it a go shall we ?
Click the folder ‘Labels’ to open it. For this example, we will work with the consumer direct dishes. Go ahead and click that folder.

Here, you will click on the folder that you need to access for label printing. In this case, let’s choose ‘Rotating Menu.’
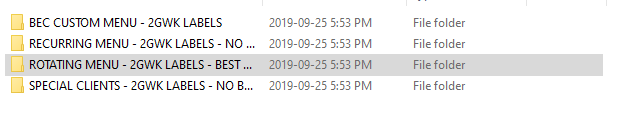
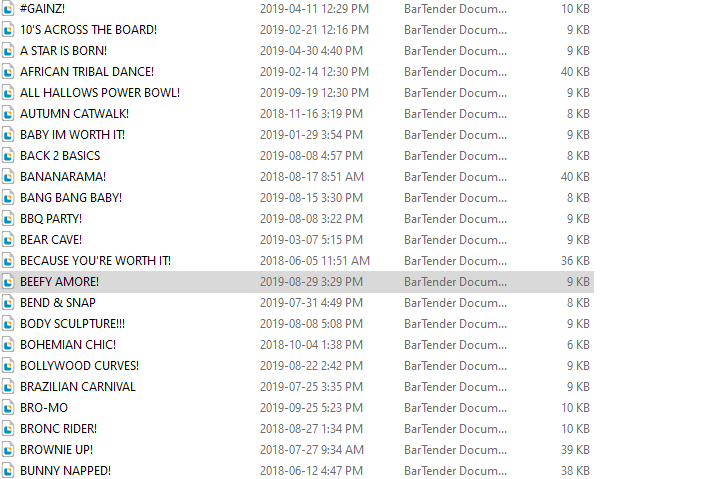
This will open up a list of all of the template files we currently have for ‘Rotating Menu’ Dishes.
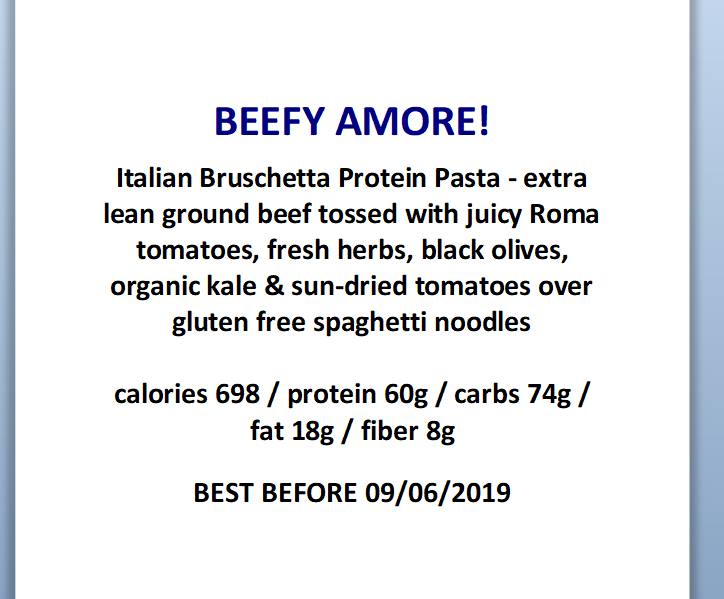
Select and double click the file you would like to open, in this case, the ‘Beefy Amore’ file.
Voila! The template is now open and ready for you to edit.
That deserves a dance party break!

Navigating amongst existing files: #
n order to navigate amongst existing files, you must first learn how the labels are classified.
There are two main types of labels:
- Consumer Direct Dishes
- Wholesale Dishes

Inside of these folders is additional subclassifications for each type of label within that program.
Let’s start with the ‘Consumer Direct Dishes’ folder. Go ahead and double-click on that folder.
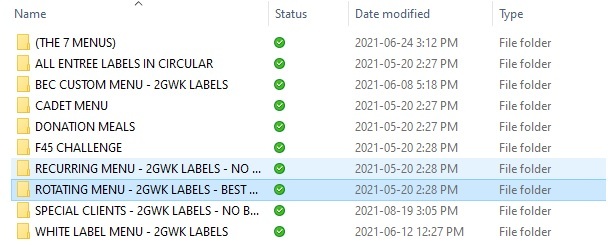
When you open this folder, the 10 subclassifications you will see are:
- (THE 7 MENUS): These are the labels of the items we’re currently selling on a rotating basis (Since the beginning of summer 2020). It includes labels from our rotating menu (Entrees) and items from our recurring menu, breakfasts, breakfast boxes, macro meals, desserts, etc. This is one of the most diverse folders as it includes items from all the general recurring menus classified in individual folders for each week. This folder gives us a sales advantage over the conventional structure of having a set recurring menu for the season and having the entrees rotate every week. Why? I am glad you asked:)
Sales wise it is better to offer different products (not just entrees) every week as our sales data has given us concise proof that this generates higher sales.
- ALL ENTREE LABELS IN CIRCULAR: This folder contains all the entree labels in a circular shape for labelling the lids of the compostable containers. Some clients will request to use compostable containers so we need to use these labels so it fits on the lid. Also, the shape of the lid is circular so that’s why it’s done this way.
- BEC CUSTOM MENU – 2GWK LABELS: these are the BEC custom menu items formatted for printing on 2GWK black and green labels for consumer direct clients.
- CADET MENU: These are the labels that we used for the cadet academy program. For now, it’s closed but it might reopen so all the labels of the dishes used in the past are archived in this folder for reference.
- DONATION MEALS: These are the labels we used for our donation program at the beginning of 2020. Right now the program is closed but all the donation meal labels are archived here for reference.
- F45 CHALLENGE: These are the labels we used for our F45 partners (fitness program with specific meals) Right now the program is closed but all the donation meal labels are archived here for reference.
- RECURRING MENU – 2GWK LABELS – NO BEST BEFORE: these are our online menu items which are available each week for consumer direct ordering (salads, breakfasts, desserts, macro meals, etc).
- ROTATING MENU – 2GWK LABELS – BEST BEFORE: these are our online menu items that change weekly (entrees)
- SPECIAL CLIENTS – 2GWK LABELS – NO BEST BEFORE: these are customized entrees tailored for specific clients on special dietary regimes
- WHITE LABEL MENU – 2GWK LABELS: these are labels from our white label selection but printed under our branded labels for direct clients.
As can be seen above, there is a specific folder for each type of dish. This organization ensures there is no overlap or duplicates of labels in the same filing area.
Now that you are comfortable with the ‘Consumer Direct Dishes’ folder, let’s move onto the ‘Wholesale Dishes’ folder. Let’s go back to the Labels folder and go ahead and double-click the Wholesale Dishes folder.
When you open this folder, the 10 subclassifications you will see are:
- (Branded) AXIS SERVICES: custom branded white label menu items for the AXIS stores formatted to be printed on the pre-printed branded white labels. (Program currently closed but are archived here for reference.)
- (Branded) BE FRESH: custom branded white label menu items for the BE FRESH / SPUD stores formatted to be printed on the pre-printed branded white labels
- (Branded) ELEVATE FITNESS: custom branded white label menu items for the ELEVATE FITNESS gym formatted to be printed on the pre-printed branded white labels
- (Branded) FARM TO TABLE: custom branded white label menu items for the FARM TO TABLE store formatted to be printed on the pre-printed branded white labels
- (White label) BE FRESH: custom branded white label menu items for the BE FRESH / SPUD stores formatted to be printed on the “blank” white labels
- (White label) ELEVATE FITNESS: custom branded white label menu items for the ELEVATE FITNESS gym formatted to be printed on the “blank” white labels
- (White label) FARM TO TABLE: custom branded white label menu items for the FARM TO TABLE store formatted to be printed on the “blank” white labels
- (White label) THE NUT – Jessica: custom branded white label menu items for THE NUT formatted to be printed on the “blank” white labels
- BE FRESH (SAMPLES): Label sample for potential menu items for BE FRESH/SPUD
- BEC CUSTOM MENU: Co-branded labels designed specifically for the BEC stores
- RECURRING MENU – 2GWK LABELS: 2GWK branded recurring online menu items for select wholesale clients
- ROTATING MENU – 2GWK LABELS – BARCODE: 2GWK branded rotating online menu items. These are used for BEC ONLY and contain barcodes.
As you can see, navigating amongst the existing files is just about familiarizing yourself with the 2 main folders and their subclassifications 🙂
Congrats, you did it!

Creating label files: #
Creating a new label is a very efficient process as the templates are already in place. All you will need to do is duplicate the file and edit the info on the duplication to align with the new dish info you are creating.
Follow the steps below to create a new label file:
- select the dish file you would like to duplicate. In the case of this example, we will be using “Beefy Amore.”
- Right click on the file and select “duplicate”
- Right click onto the main screen and select “paste”
You will then see the files listed as below in the photo – the original file and the copy you have created. Now all you need to do is edit the info on the copy by continuing to follow the steps listed below.

- Click on the duplicate file and change the name to the name of the new dish. For the purpose of this example, we will just title it “New Entree”
- Double click on “New Entree” to open the label file and edit the name, description, nutritional info & best before date in accordance with the information for the dish you are creating.
- Voila! Your new label template is created and ready for use. Full video tutorial below
NOTE: if you are creating a label template for a wholesale dish you will also need to add a barcode. Reference “creating barcodes” for information regarding this step
Editing label files: #
When it comes to editing existing label files, it’s a simple as ‘Select, Edit, Done’
We will use the label file ‘MACRO CYCLE’ as an example:
Let’s say there is new nutrition information for this dish and it will be changing to the following:
Calories 300 / protein 32g / carbs 89g / fat 10g / fibre 5g
To update this information, enter the bartender software, select the label file to edit as shown in the image below (in this case “Macro Cycle) and double click it to open.

Once opened, select and edit the information that needs updating – in this case, the nutritional information. Once you complete the desired edits, click the disc icon in the top left of the toolbar to save.
View the video tutorial below for a visual representation of the process step by step 🙂
Creating barcodes: #
Hi there! let’s get started with barcodes for our wholesale clients 🙂 It is very important for us to create barcodes as they are essential for our wholesale clients to distinguish amongst our items and help them identify which are the best sellers and order accordingly.
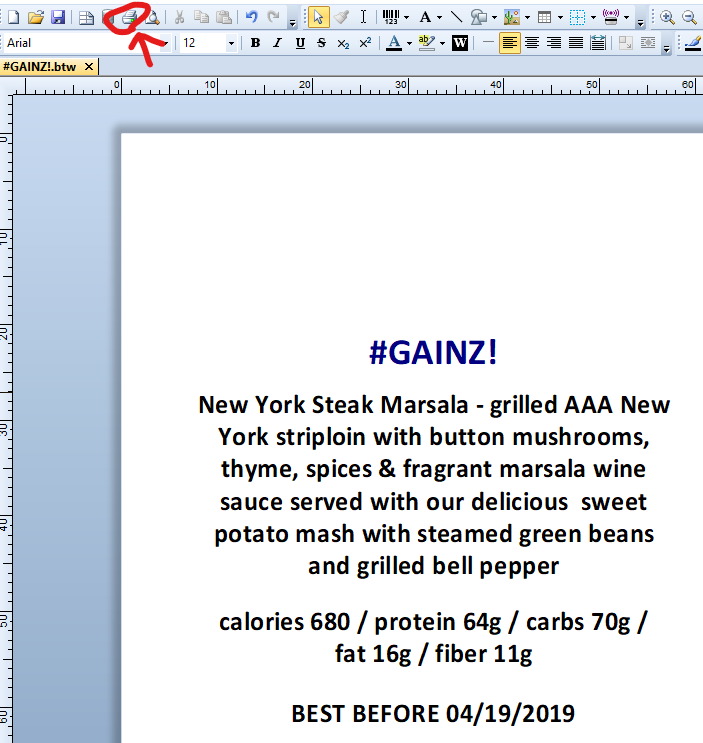
Start off by opening an entrée file, let’s use ’10’s across the board’ as an example:
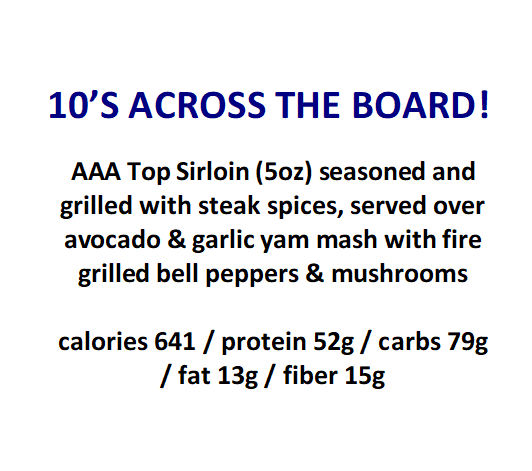
Once you open it, navigate to the top of the screen and click on the barcode icon, outlined with the red arrow in the image below

Once you click on it, the following screen will appear:
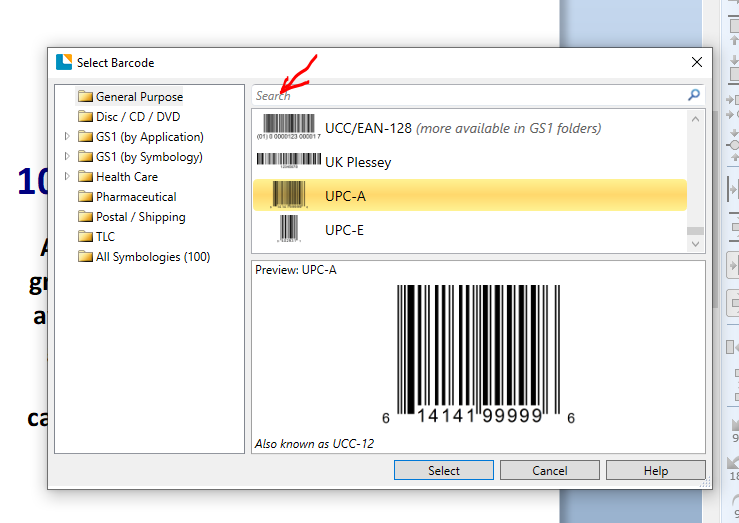
Now, you can select which barcode you’d like to use. Usually for our wholesale clients we use the UPC-A barcode format as it is the most commonly used and easiest to scan. Click on the UPC-A barcode option & click “select” and the barcode will drop automatically onto the label file.
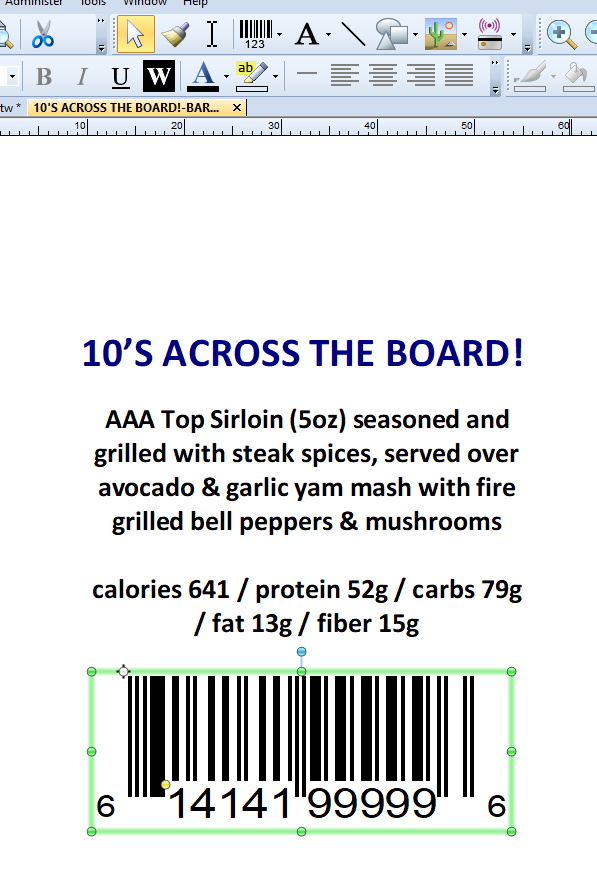
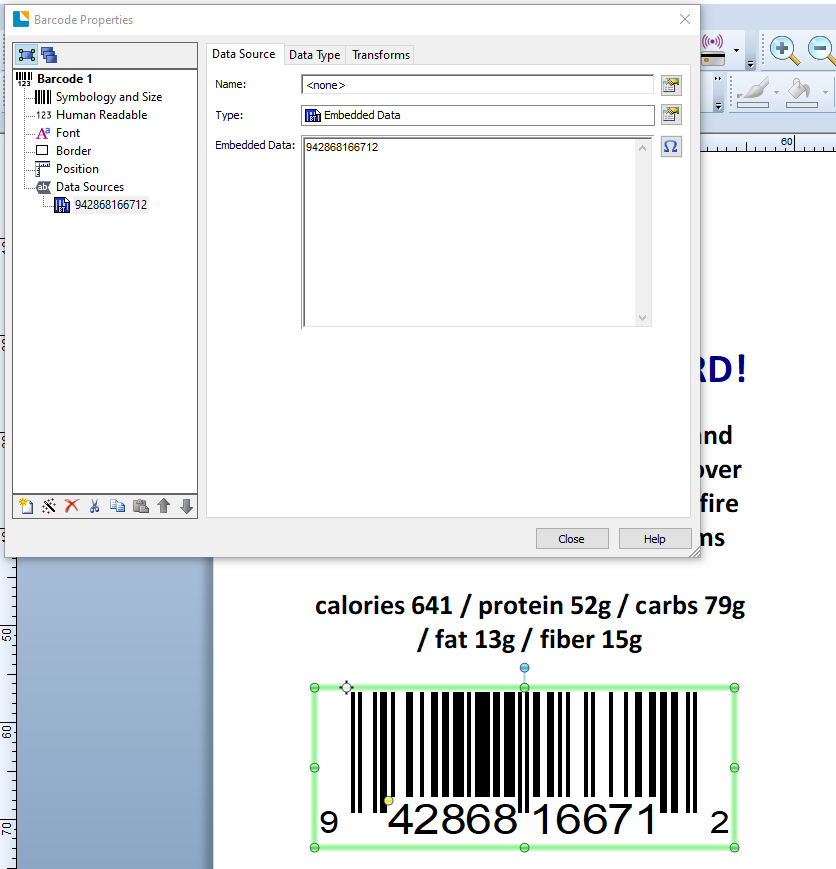
Now it’s just a matter of right-clicking on the barcode and selecting “properties” to modify the barcode number in the “embedded data” field shown below.

Tip: The size can easily be adjusted by dragging the green dots on the outer part of the barcode and the placement can be changed by holding the left click and dragging the barcode to the desired position.
Let’s use the specific entrée barcode number we use on our wholesale rotating menu items
942868166712
Based on the BarTender instructions to create a barcode, we just need to add a random 12 digit number for new barcodes, but in order to be more specific on each special barcode. Please add the product’s price at the beginning of each barcode. For example, if a product is priced at $12.99 we will go ahead and create a barcode starting with 1299******** (12 digits in total). Barcodes are for the wholesale clients which can be associated with a specific price for their convenience.
Click on close and voila, your label with barcode is ready to roll
PS: The PC will save everything automatically when you close the program so there is no need to save files every time you change them 🙂 I do it often just in case lol
Label printing basics: #
Printing a label is quite a straightforward process 🙂 in this case, we’ll be using the #Gainz label
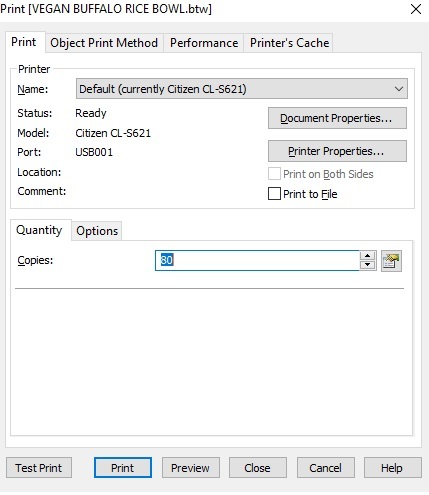
- Click on the Print icon on the top left corner of the screen.
- Click ‘Document Properties’ to confirm the ink level.
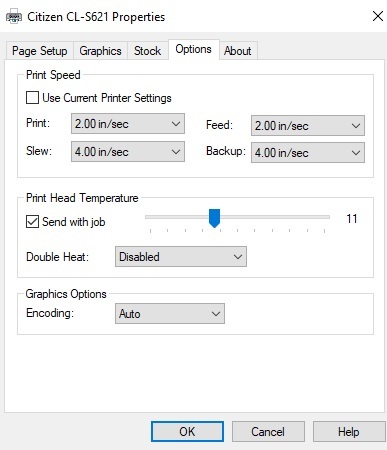
- Make sure that the Use Current Printer Settings box is not selected. From here we can change the printing speed. Printing at a slower speed can help when are having trouble printing labels that are printing poorly. The default is Print: 4.00 in/sec Feed: 4.00 in/sec, Slew: 4.00 in/sec and Backup: 4.00 in/sec. In the image below you will see that it is set to 2.00 in/sec for both Print and Feed.
- Print Head Temperature will affect the darkness of the ink level. The numerical value on the right indicates the ink level of where the blue arrow is located. To change the levels make sure that the Send with Job box is selected, from there you can slide the blue arrow to change the ink level. Make sure that the ink level is set at (11) and then click “ok.”
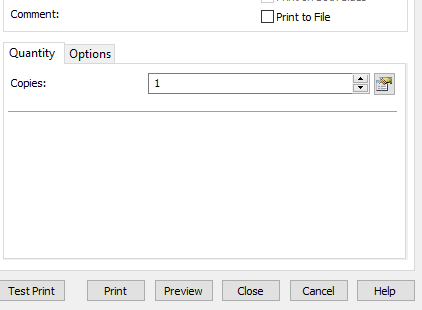
- Before printing a large quantity of this label you will need to print a single label to ensure all capacities are correct.
- In the “copies” field, enter 1 and click “print.”
Review the printed label to confirm the following:
- Text is centred
- Text is clear and easy to read
- Nutrition facts are correct
- Description is correct
- Dish name is correct
- Best Before Date (when applicable) is correct
- Barcode (when applicable) is correct
- Print quality is good
If all items are correct, enter the number of labels you need in the copies field and print away.


